How to Set-up and Use Zoom Cloud Recording
How to Record to the Cloud
Recording to the Zoom Cloud allows you to log off of your computer as soon as the meeting is over as the video will finish the conversion process in the cloud instead of on the local machine. You can then log into zoom.us from any other device/computer later to download the video file when it’s ready. You must have a Zoom account through Missouri Western’s Educational Account, and have a Pro License with that account to be able to record to the Zoom Cloud.
Automatically Recording your class/meeting
If you have already set up a meeting (one time or recurring) and told it to automatically start recording, you now have the option for it to record on the local machine or in the cloud.
You will need to change this setting in any class or office hour session you have already set up as it will default to “on the local computer”. Go to

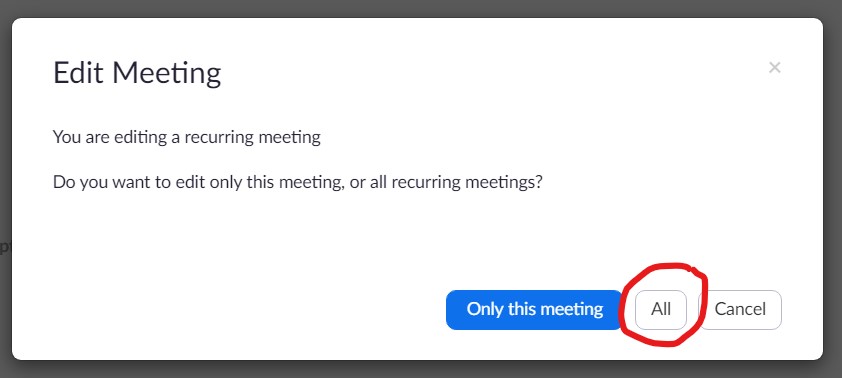
This will open the information page for that meeting. Down in the lower right hand corner, you will see “Edit this meeting”. If it is recurring, it will ask if you want to edit only this meeting, or edit all. Choose All.
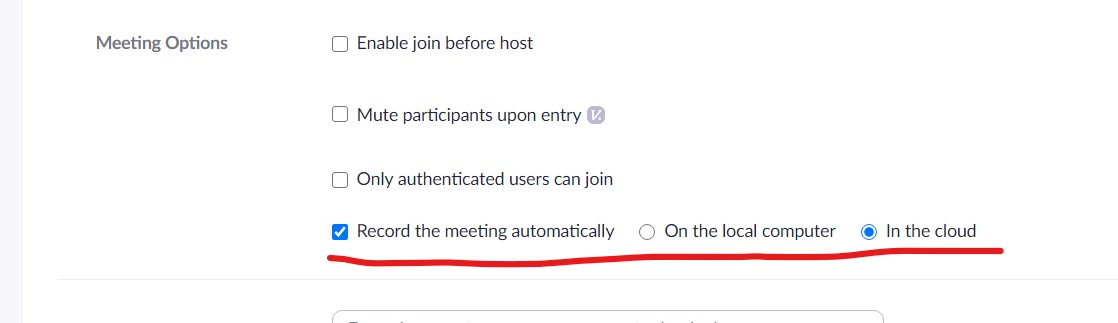
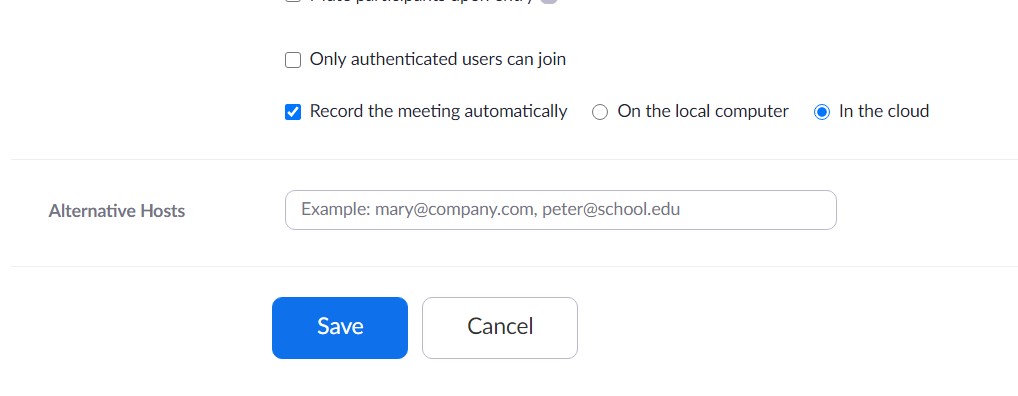
Scroll down to the Record Automatically option, choose “In the Cloud” and click save.
Manually Recording your class/meeting
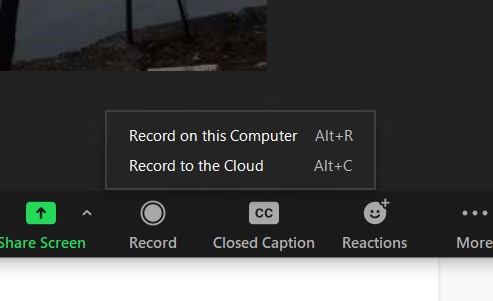
If you will be starting the record feature manually during your meeting, now when you click the Record button, you will see you have the option to record on this computer or record to the cloud. Pick whichever one you prefer and the recording will begin.
The video will begin processing when you either hit Stop, or End Meeting for All. The host will receive an email when the recording has finished processing.
VERY IMPORTANT: If you record to the local computer, you will have to let the video finish converting on that computer before you can move the video file to your P-drive or upload it to Panopto. You will have to be logged in to that computer while it finishes processing and may take several minutes to do this.
Recording to the Cloud allows you to sign out of the computer as soon as the class/meeting is done as the processing is being done in the cloud. Then you can log into zoom.us from a different computer and download the file when it’s ready.
[
Downloading your Recording from the Cloud
When the video has finished processing, go to
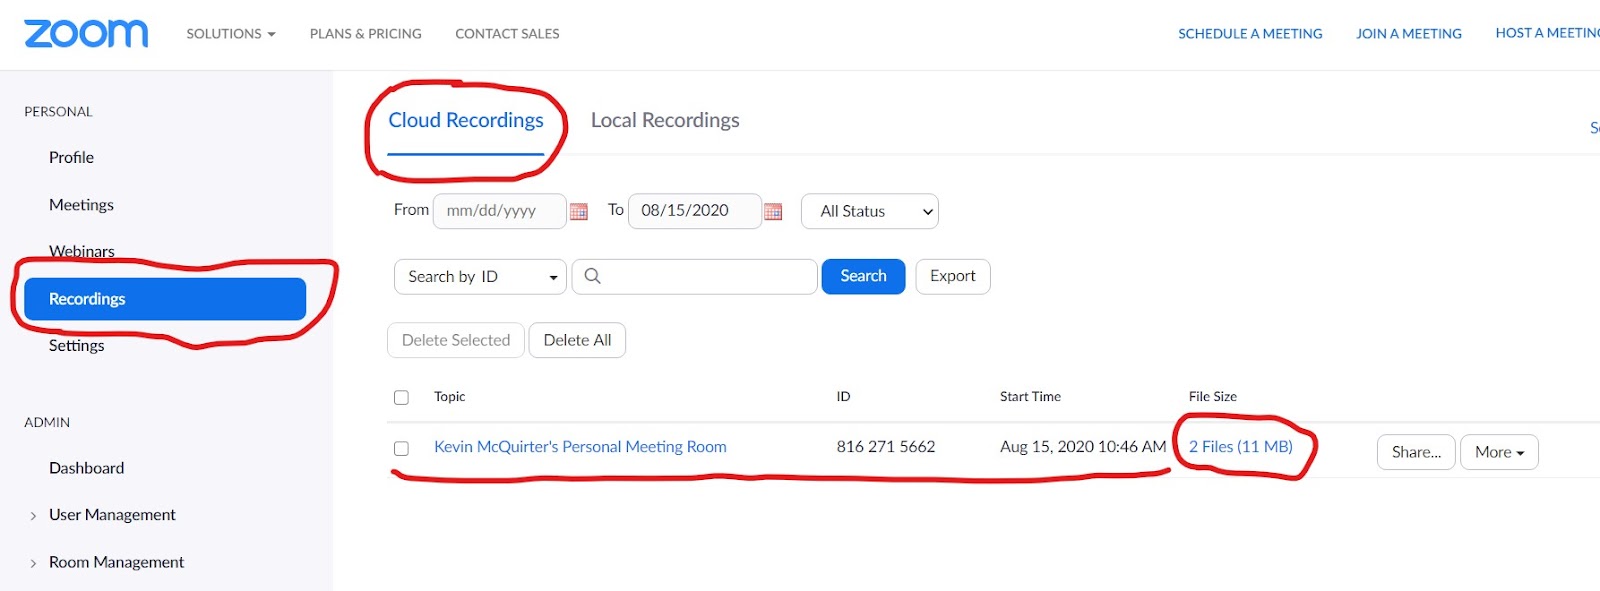

Once the video has been downloaded, followthese instructions on how to upload the file into Panopto for use in Canvas.
[